For years, ceilings have been the most overlooked surface in interior design. We paint them white and move on — missing one of the most powerful ways to add depth and personality to a space.
But the “fifth wall” is making a comeback.
And with peel & stick wallpaper, transforming your ceiling into a statement piece has never been easier.
Here’s how to do it — step by step.
1. Start with the Right Space
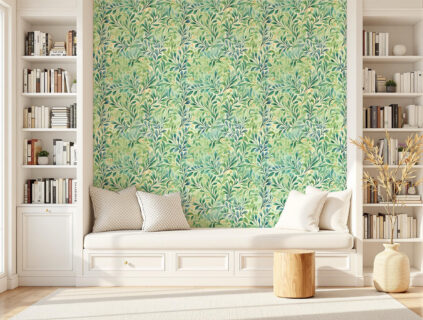
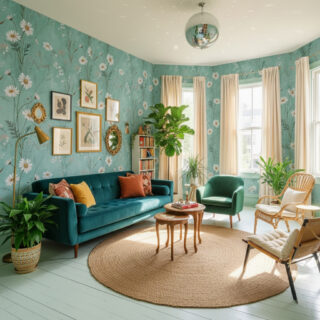
A wallpapered ceiling works best in rooms where you naturally look up — think bedrooms, dining rooms, and hallways.
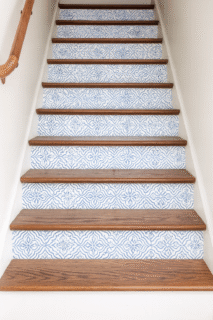
Low ceilings benefit from light tones and small-scale patterns, while tall or vaulted ceilings can handle bolder, more dramatic designs.
If the room already has strong wall patterns or heavy textures, balance it with a simpler ceiling print to avoid visual overload.
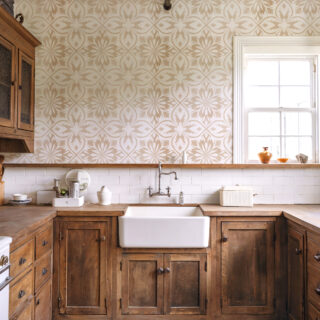
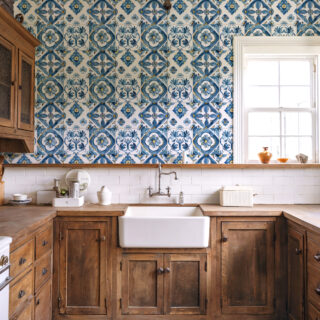
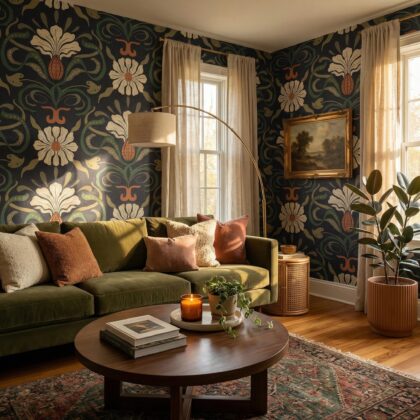
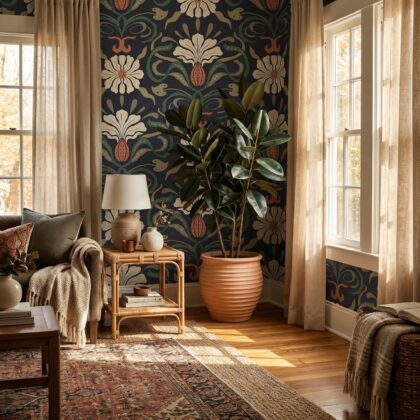
2. Choose the Perfect Pattern
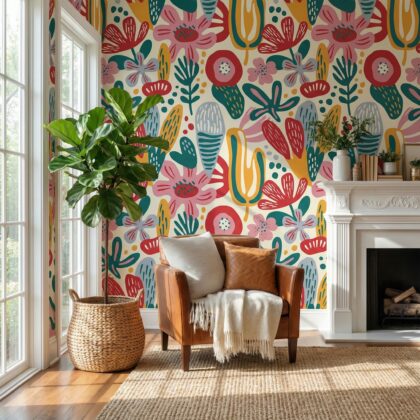
Your ceiling is a blank canvas for creativity.
Consider what mood you want to create:
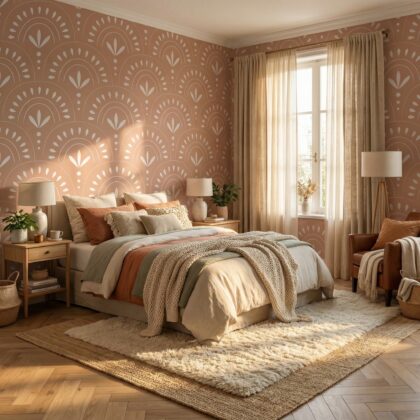
- Soft florals and watercolors add calm and romance — perfect for bedrooms or reading nooks.
- Geometric or tile-inspired motifs bring structure to modern spaces.
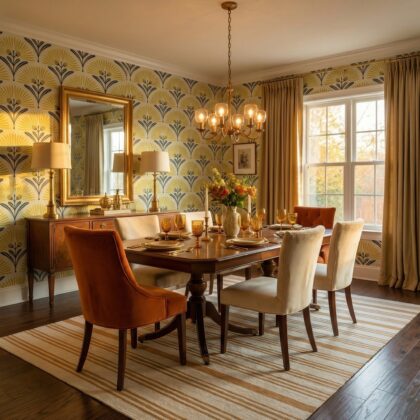
- Metallics and art deco repeats elevate formal rooms with a subtle glow.
Look for designs with movement that gently draw the eye upward without overwhelming the space.
3. Prep Your Surface
Before applying, make sure your ceiling is clean, dry, and smooth.
Wipe it with a damp cloth to remove dust, then let it dry completely.
If it’s freshly painted, wait at least two weeks before installing wallpaper so the paint fully cures and the adhesive bonds properly.
💡 Pro tip: Use painter’s tape to mark the center of the ceiling — it’ll help you align your first panel perfectly.
4. Apply with Precision
Installing wallpaper on a ceiling can sound intimidating, but with peel & stick, it’s more manageable than you think.
- Work with a partner if possible — one person holds the panel while the other smooths it down.
- Start in the center and move outward to ensure even alignment.
- Use a squeegee or soft cloth to press out any bubbles as you go.
Patience is key. Take your time, and don’t hesitate to reposition panels if needed — that’s the beauty of removable wallpaper.
5. Frame the Look
Once your wallpaper is up, think about how to complete the space.
Ceiling moldings, soft lighting, or even a sculptural pendant can highlight your new design and make it feel intentional rather than experimental.
For a cohesive look, pick up colors or motifs from your ceiling in small accents below — a throw pillow, an artwork, or even the trim color.
6. Keep It Fresh
A statement ceiling doesn’t need to be permanent.
Peel & stick wallpaper allows you to change it whenever inspiration strikes — from soft botanicals in spring to darker, cozier tones for winter.
It’s one of the simplest ways to reinvent a room with minimal effort and maximum impact.
Final Thought
The ceiling is your home’s most unexpected canvas.
When you treat it as part of your décor — not just an afterthought — your entire space transforms.
Whether you opt for bold geometry, subtle florals, or something entirely unique, a wallpapered ceiling proves one thing:
creativity truly knows no bounds.